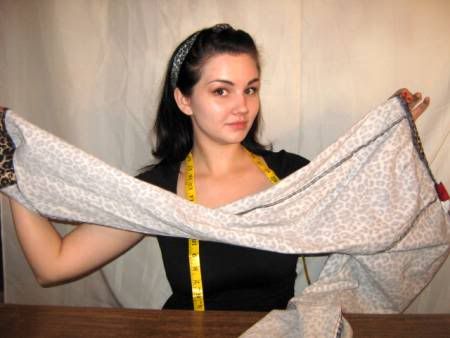
So you found a pair of pants that are
pretty well perfect minus the flair...
oh yeah that is enough to make anyone disgusted
BUT you can fix this!!

First thing ya gotta do is measure around your ankle and heel so you can make sure you can get these babies on once you've pegged them, in our case 12 inches.

Next turn those jeans inside out.
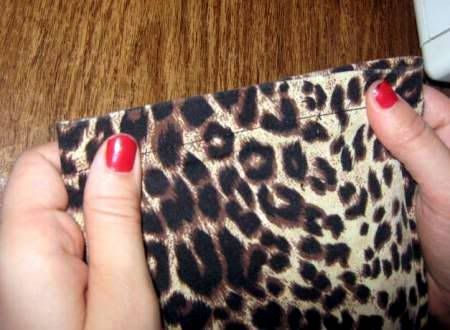
Take out the hem.

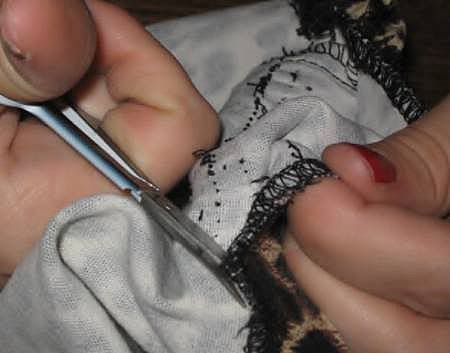
Like so:

You want to remove the hem on both pant legs.
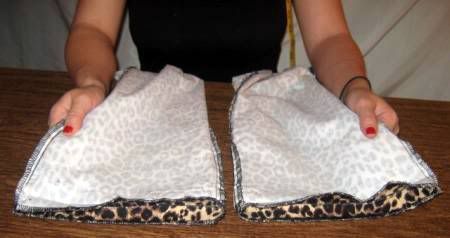
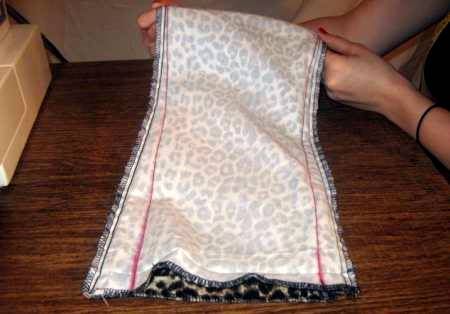
I then flatten the pant leg seams together.

Here I folded the leg up so you can see both hems easier.
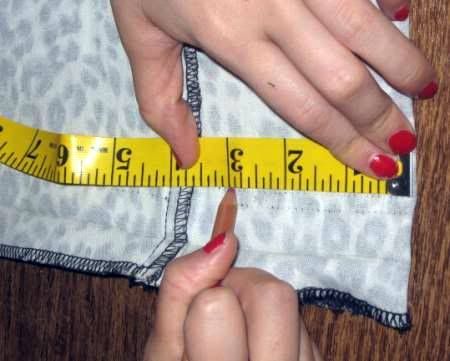
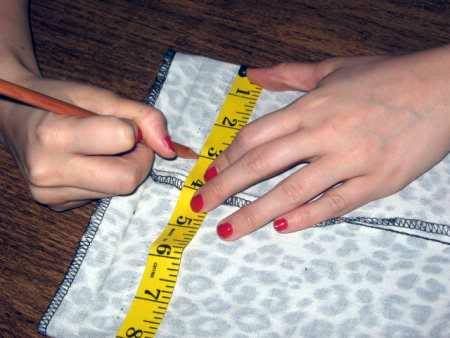
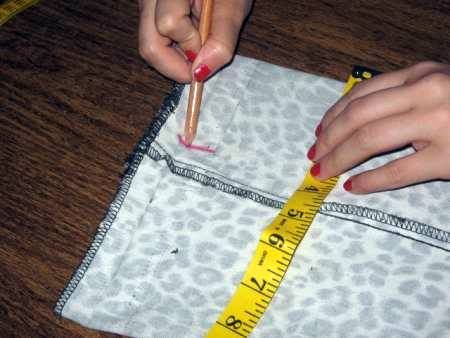
Put the tape measure on the crease as shown in pic below. Now take the measurement that you got when you measured your ankle and heel
and divide it by 4.
I'm using 12 divided by 4 which is 3 inches.
Mark it on the pant leg. I use a chalk pencil (available wherever notions are sold).
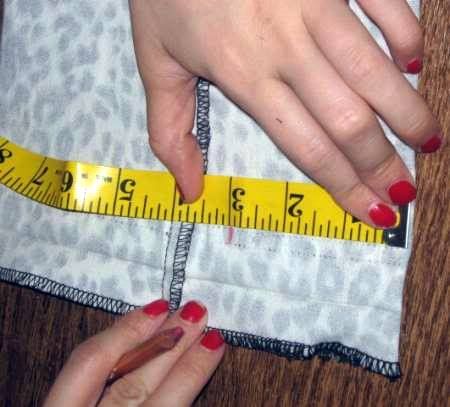
Turn the pant leg over and mark 3 inches on the other side.

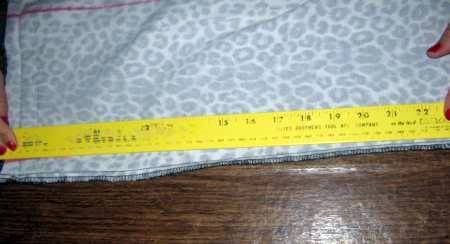
If done right it should measure half of what your measurement is in this case 6 inches.

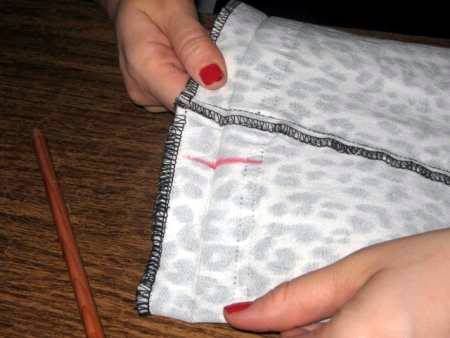
Now you take a yard stick (or any straight edge you have that is long enough) and place one end by the mark you made and the other end where it starts to flair out by your knee...
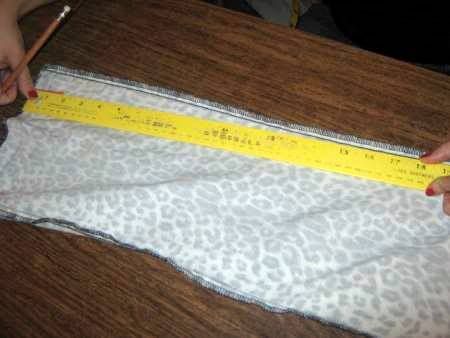
...and draw a line.

Do the same thing to the other side of the pant leg.
You will have something that looks like this:

Do exactly the same thing to the other pant leg.
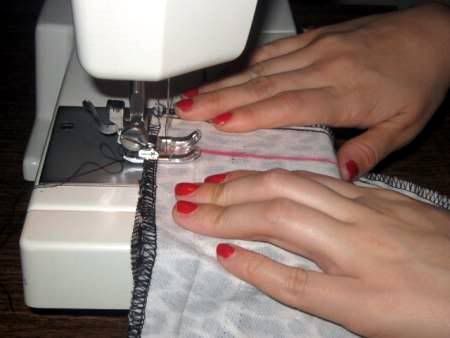
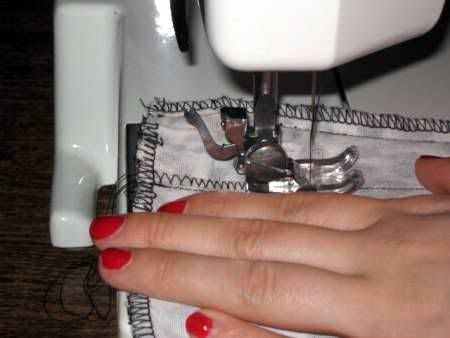
Once you're done marking your pants it's time to break out the sewing machine.
Stitch a straight line on all the lines you've just marked. Making sure to back stitch
so your stitches don't come undone later.
It is very important to make sure your seams are flat and smooth while you stitch.

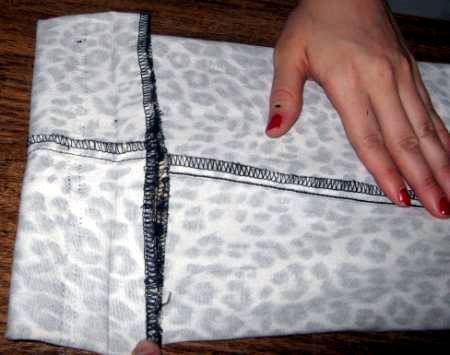
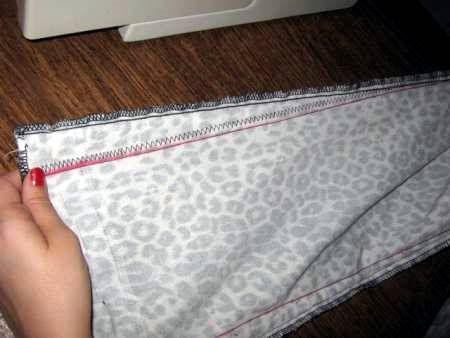
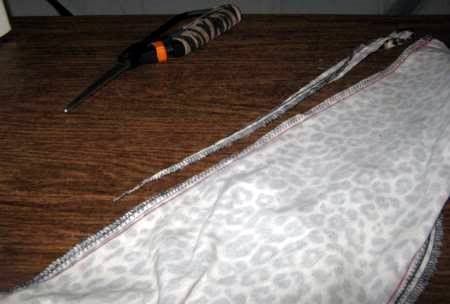
Here is mine all stitched:
Now, I want to trim off the excess fabric with out it fraying apart so I put a zig zag stitch right next to the straight stitch.
You can use a serger if you have one, which is what I usually do but I wanted to show that this can be done with just a regular sewing machine.
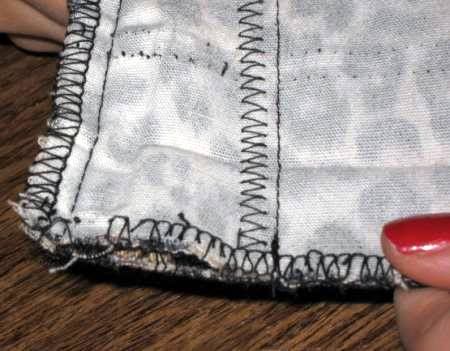


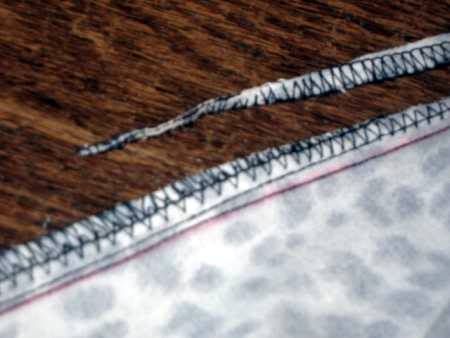
Cut the excess fabric making sure
not to cut the zig zag stitch.
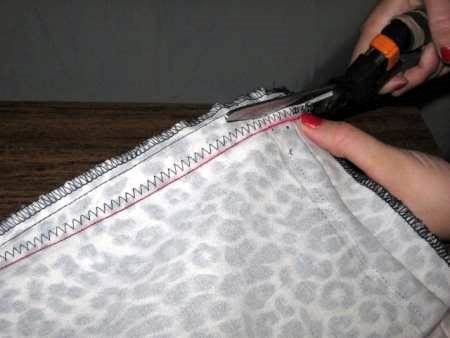

Make sure not to cut through your zig zag stitch even when you cut through the original serger stitch.

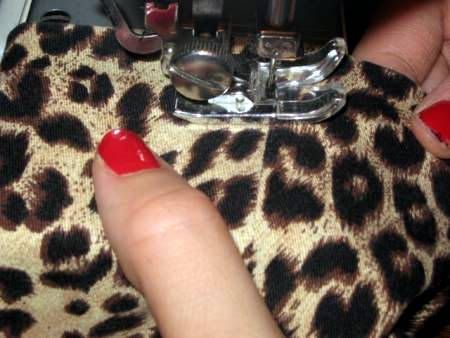
Simply fold the hem back and stitch it down and you're all set!
A perfect pair of jeans and look how happy it made her!

There is not a drastic change in these particular pants but this works for any pants with a flair or boot cut :)


First thing ya gotta do is measure around your ankle and heel so you can make sure you can get these babies on once you've pegged them, in our case 12 inches.

Next turn those jeans inside out.

Take out the hem.


Like so:

You want to remove the hem on both pant legs.
I then flatten the pant leg seams together.

Here I folded the leg up so you can see both hems easier.

Put the tape measure on the crease as shown in pic below. Now take the measurement that you got when you measured your ankle and heel
and divide it by 4.
I'm using 12 divided by 4 which is 3 inches.
Mark it on the pant leg. I use a chalk pencil (available wherever notions are sold).


Turn the pant leg over and mark 3 inches on the other side.


If done right it should measure half of what your measurement is in this case 6 inches.

Now you take a yard stick (or any straight edge you have that is long enough) and place one end by the mark you made and the other end where it starts to flair out by your knee...

...and draw a line.

Do the same thing to the other side of the pant leg.

You will have something that looks like this:

Do exactly the same thing to the other pant leg.
Once you're done marking your pants it's time to break out the sewing machine.
Stitch a straight line on all the lines you've just marked. Making sure to back stitch
so your stitches don't come undone later.
It is very important to make sure your seams are flat and smooth while you stitch.


Here is mine all stitched:

Now, I want to trim off the excess fabric with out it fraying apart so I put a zig zag stitch right next to the straight stitch.
You can use a serger if you have one, which is what I usually do but I wanted to show that this can be done with just a regular sewing machine.


Cut the excess fabric making sure
not to cut the zig zag stitch.


Make sure not to cut through your zig zag stitch even when you cut through the original serger stitch.


Simply fold the hem back and stitch it down and you're all set!


A perfect pair of jeans and look how happy it made her!

There is not a drastic change in these particular pants but this works for any pants with a flair or boot cut :)

No comments:
Post a Comment