Thursday, April 28, 2011

How To Make Hair Bows

What You Need:


Ribbon
I am using 1 1/2 inch wide ribbon for the bow part 
and 1/4 inch wide ribbon for the center.

Photobucket


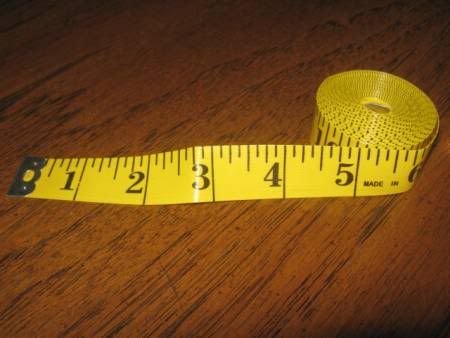
Tape Measure
Photobucket


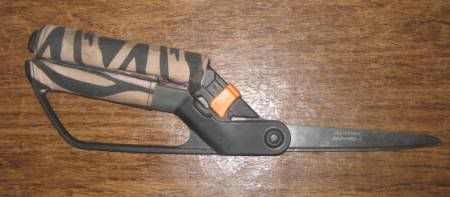
Scissors
Photobucket


Fray Check
Available at Joann Fabric and Crafts or Hancock Fabrics.
Photobucket


Needle and Thread
Photobucket


Hot Glue Gun
Photobucket


Hair Clips
I am using Alligator Clips...
Photobucket


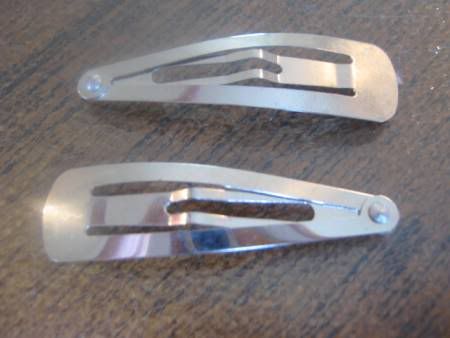
...and Snap Clips.
Photobucket


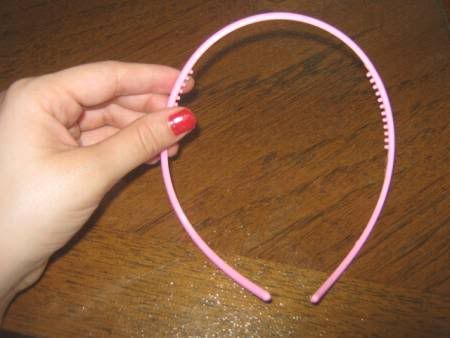
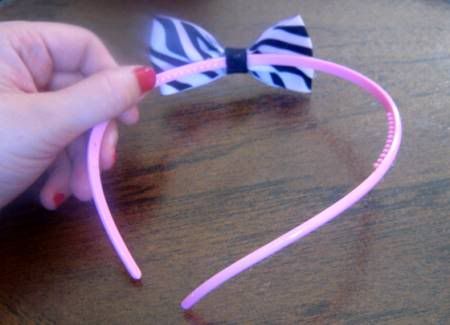
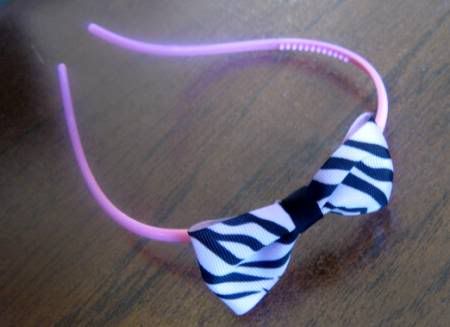
Or you can use a Headband.
Photobucket


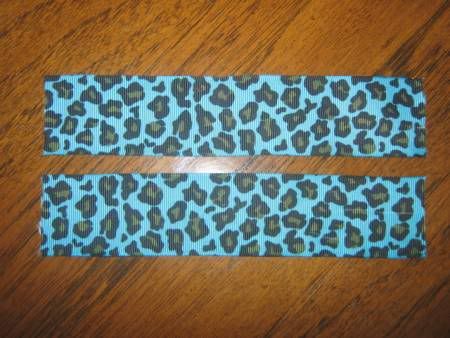
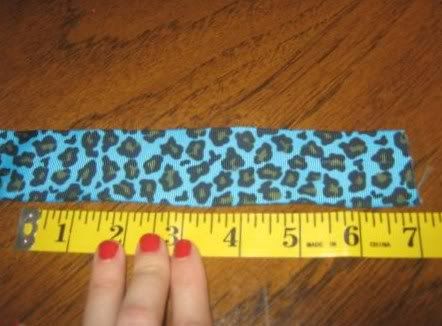
Start by measuring 7 inches of the 1 1/2 inch wide ribbon...
Photobucket


...and cut it.
Photobucket


Cut a second piece of ribbon at 7 inches.
Photobucket


The edges are already starting to fray so....
Photobucket


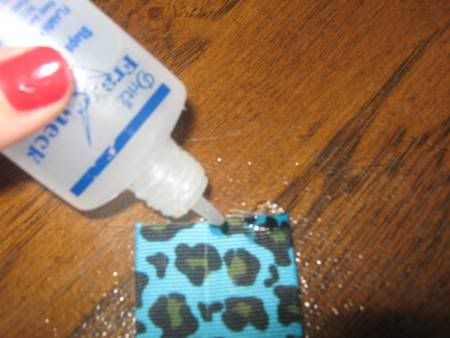
...use your fray check!
Apply a thin line to the cut edge.
Make sure to protect your work surface 
when using this product!!
It's kind of hard to see but I am using a glass cutting board.
Photobucket


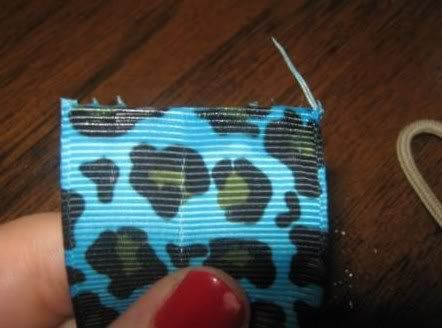
Here is the ribbon after I applied the Fray Check. 
Let it dry before you trim your ribbon.
Photobucket


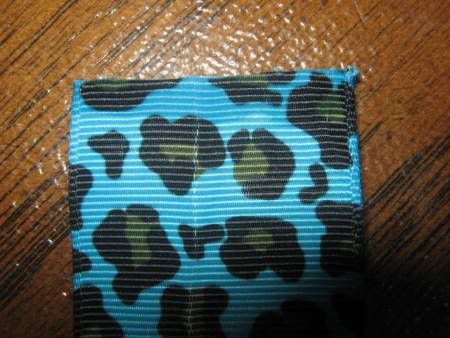
Here it is all trimmed and ready to go!
Do this for all the cut edges.
Photobucket


Fold it into a loop overlap the edges a 1/4 inch.
Photobucket


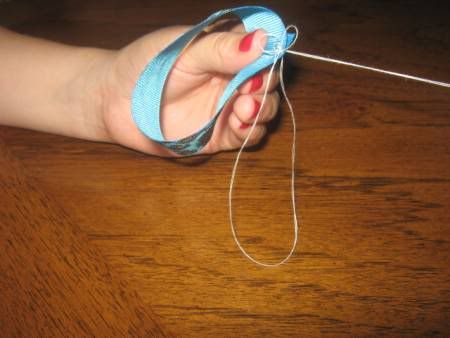
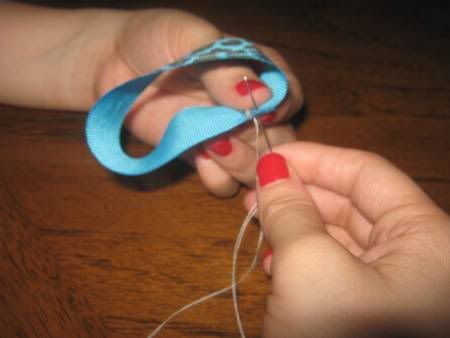
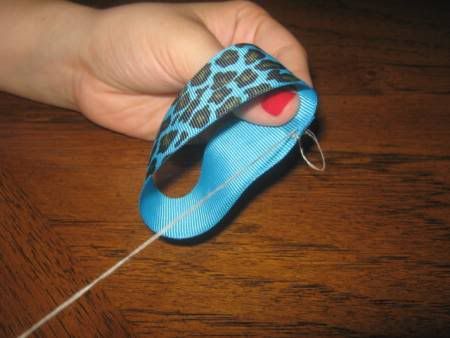
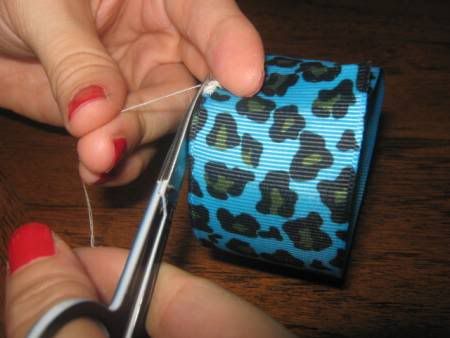
Take a threaded needle and stitch the edge 
to secure your loop...
Photobucket
Photobucket
Photobucket
Photobucket
Photobucket
Photobucket
Photobucket


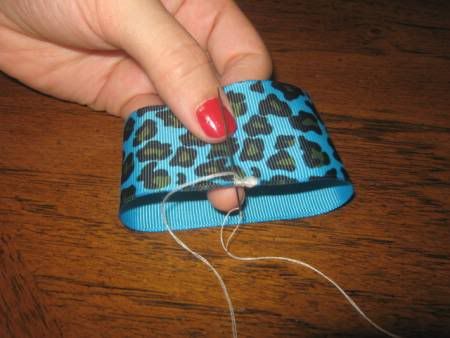
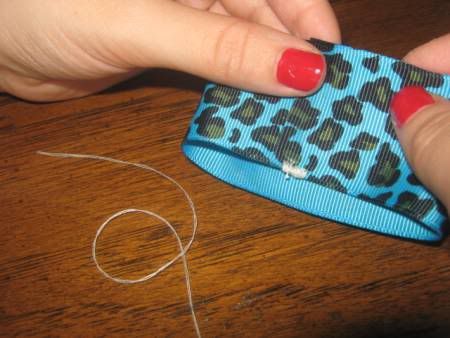
Tie it off...
Photobucket
Photobucket
Photobucket


...and cut the thread.
Photobucket
Photobucket


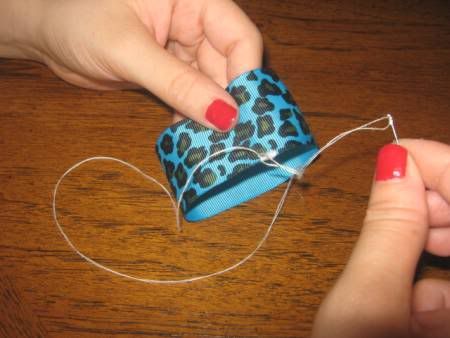
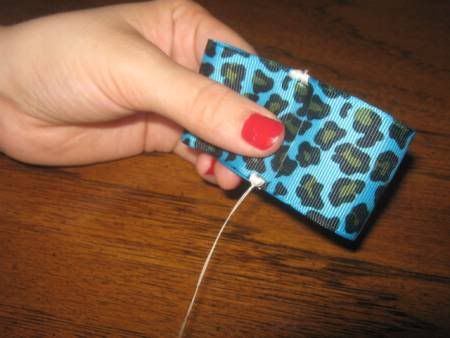
Do the same to the other side except this time 
do NOT cut the thread.
Photobucket
Photobucket


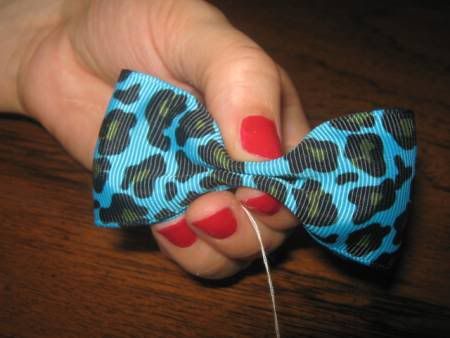
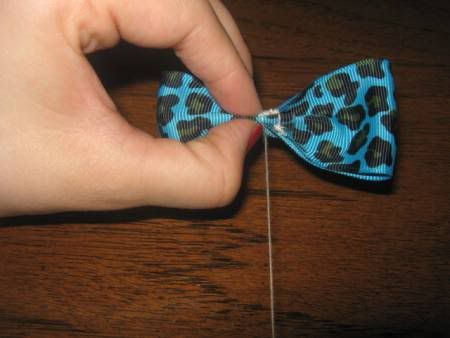
Fold it to make a bow shape.
Photobucket
Photobucket


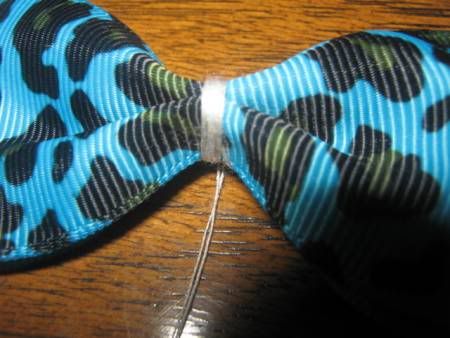
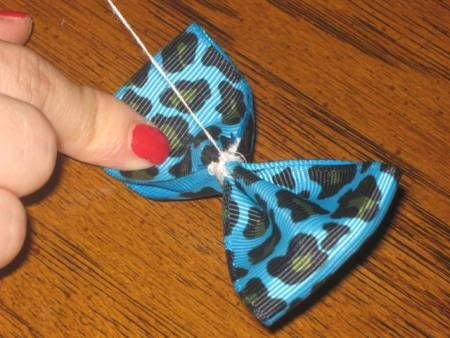
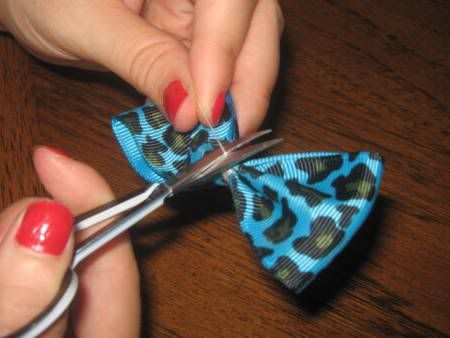
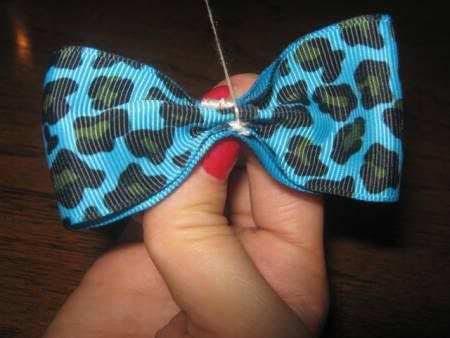
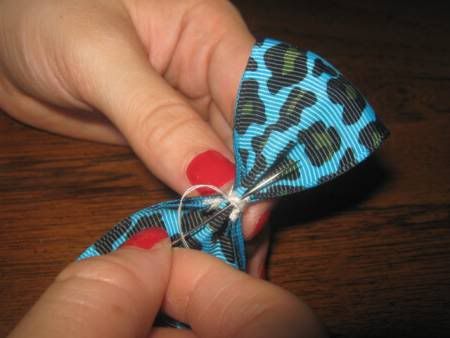
Take the thread and wrap it around the center of the bow...
Photobucket
Photobucket


...til you have this:
Photobucket


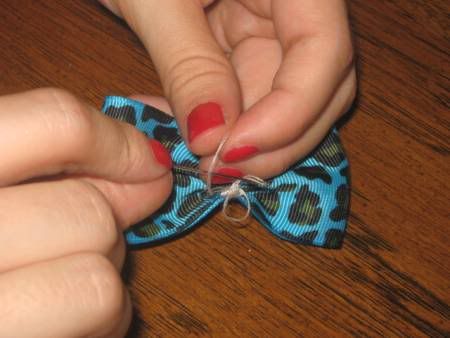
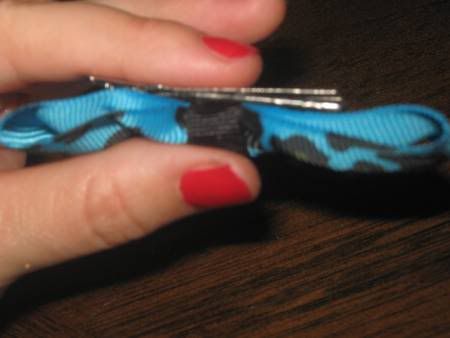
On the back of the bow take the needle and push it behind the thread you have wrapped around the center of the bow...
Photobucket


...and tie it off.
Photobucket
Photobucket
Photobucket
Photobucket


Cut the excess thread.
Photobucket


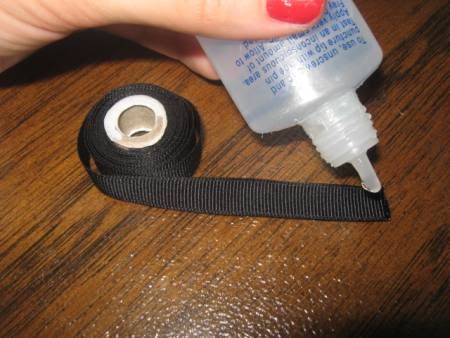
Fray check the end of the 1/4 inch ribbon.
Photobucket


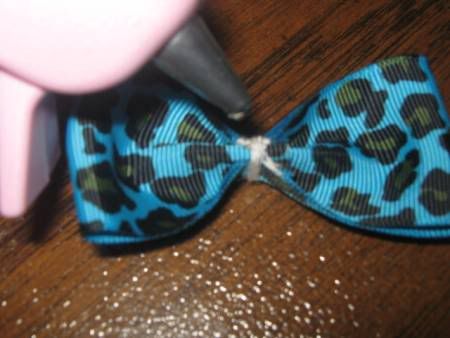
Put a little hot glue on the back of the bow.
Photobucket


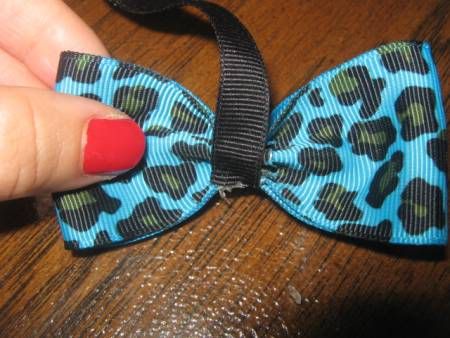
Place the 1/4 inch ribbon on the glue while it's still hot.
Photobucket


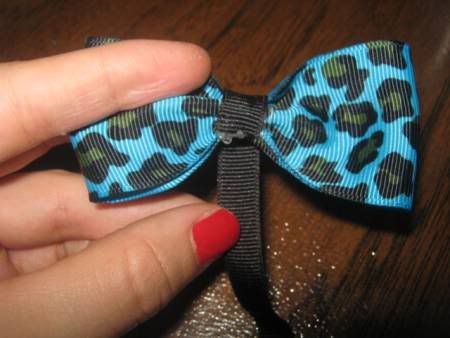
Wrap the ribbon around the bow.
Photobucket


Put a little dot of hot glue.
Photobucket


Press the ribbon down on the hot glue. 
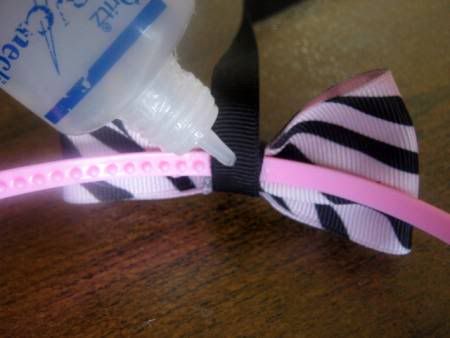
Then put a little bit of fray check on the ribbon. 
Photobucket


Let it dry a little bit before you cut the excess ribbon.
Photobucket


Here is the back of the bow:
Photobucket


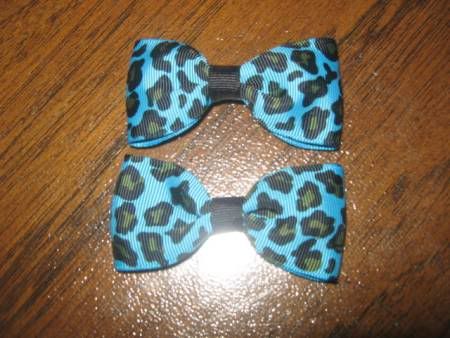
I went ahead and made the second bow.
Photobucket


Now take your aligator clips.
Photobucket


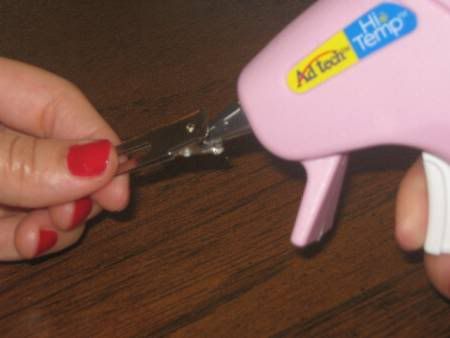
Put some hot glue on the inside of the top of the pinchy part
(yes, that is the technical term)...
Photobucket


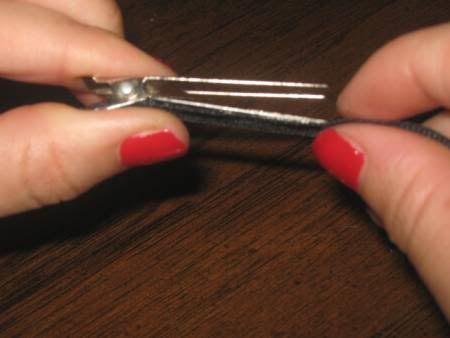
...and place the 1/4 inch ribbon on the glue.
Photobucket


Next glue the top part of the clip 
making sure not to glue your clip together.
Photobucket
Photobucket
Photobucket


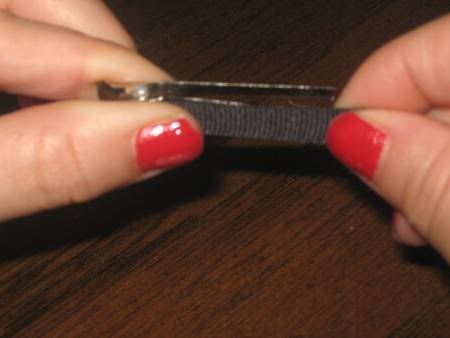
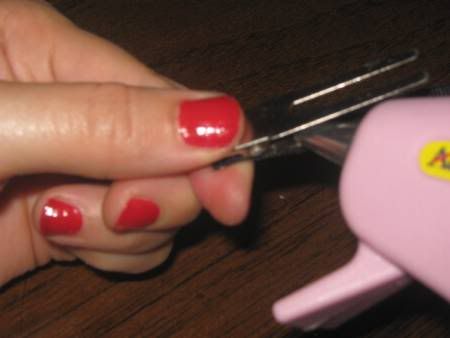
Glue the inside of the top of the clip.
Photobucket


Press the ribbon down on the inside.
Photobucket


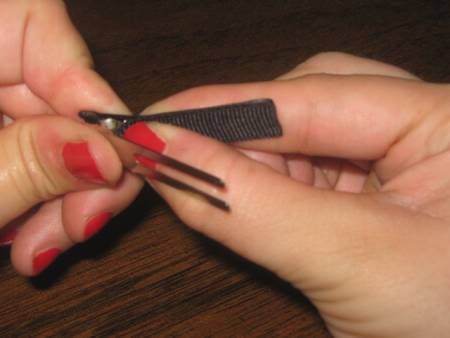
Here are two of the clips I've made:
Photobucket


Glue the top of the clip...
Photobucket


...and place the bow on the clip.
Photobucket
Photobucket


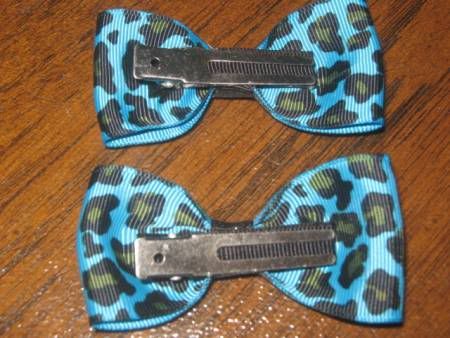
Here is the back of 2 completed bows...
Photobucket


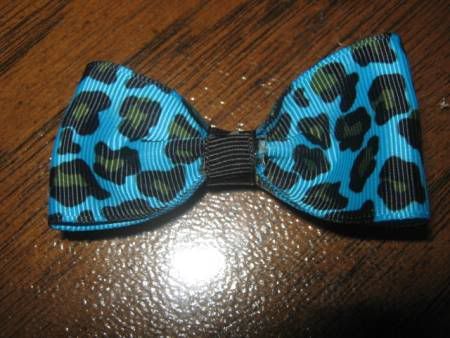
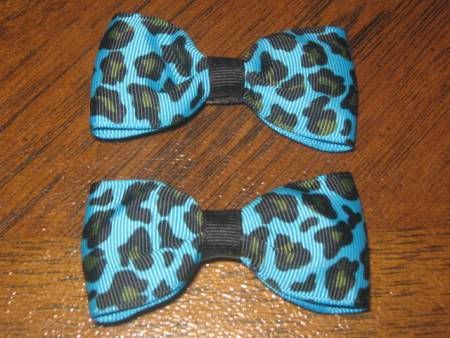
...and the front!
Photobucket


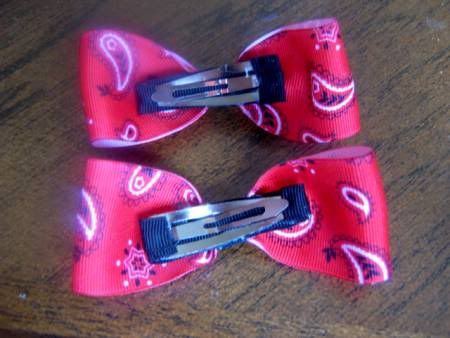
Here's another bow I made in the same way except 
placed them on snap clips instead. 
PhotobucketPhotobucket


Or a headband!
Photobucket


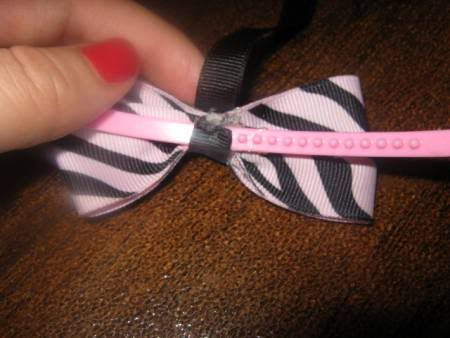
With the headband I make a bow...
Photobucket


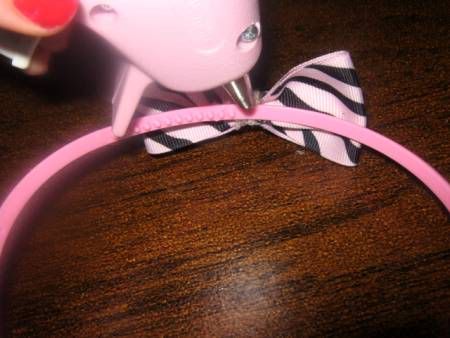
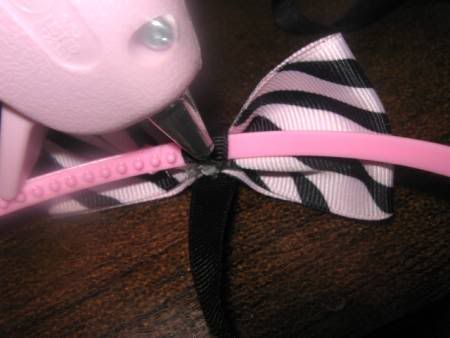
...and attach it to the headband with some hot glue.
Photobucket
Photobucket
Photobucket


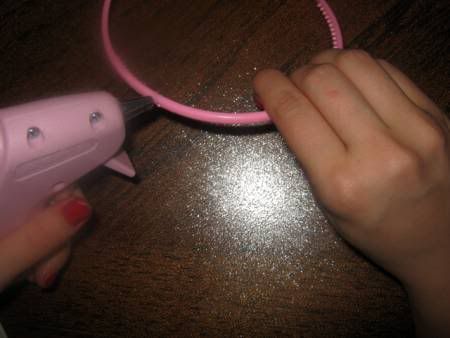
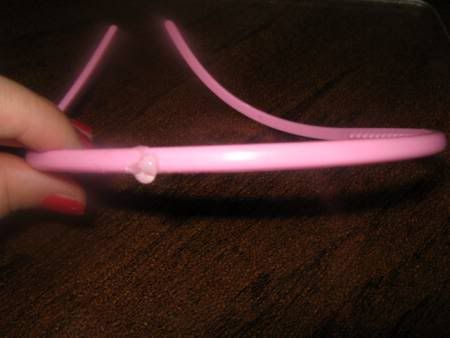
Put some hot glue on the back of the headband.
Photobucket
Photobucket


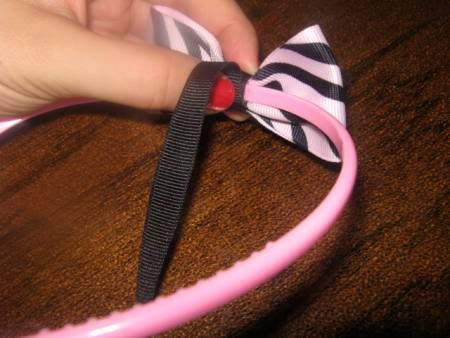
Press the 1/4 inch of ribbon on the glue.
Photobucket


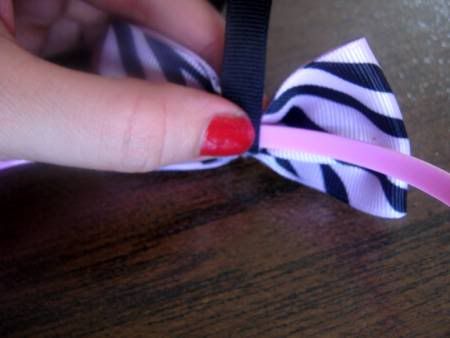
Wrap it around both the headband and the bow.
Photobucket


Glue it.
Photobucket


Press the ribbon on it.
Photobucket


Fray Check and cut the extra ribbon.
Photobucket


There ya go :)
Photobucket
Photobucket

1 comment: